How to change a car battery without losing your radio code

Photo credit: https://www.ratedradardetector.org/
Changing your car battery
You may have already seen our video on how to change a car battery (a worthwhile watch before attempting to fit your battery) and noted that you need a radio code for your vehicle. If this is the case, simply follow the below advice and you will be able to fit your battery without losing the car's memory.
Changing a car battery is a relatively easy practice - though many people aren't aware of this. However unless you put some thought into preparing for changing the battery you can find yourself unable to use your radio.
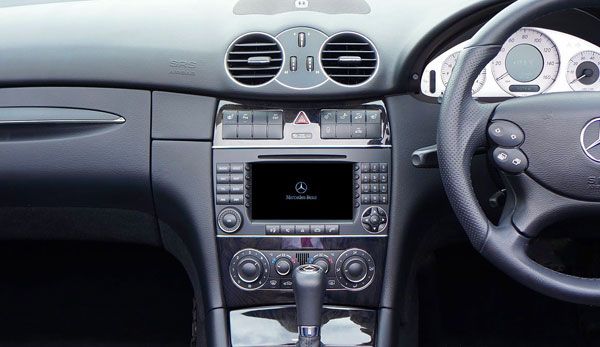
This is because some vehicle manufacturers - as an anti-theft measure - disable the radio if the power is cut until a special security code is entered. Many people aren't aware of what their security code is or how to enter it, which can mean a trip to the garage to resolve the situation. This tutorial will teach you how to change your battery without the power being cut to your vehicle.
Tools you'll require:
- Small socket set - usually 8, 10, 12 and 13mm will be enough
- A booster/jump pack OR a set of jump leads and any 12 Volt battery
Step 1 - Find your battery
Open your bonnet and locate the battery. In many cases the battery may be in a plastic box or padded canvas cover.
Note that in some rare cases the battery may be in the boot or under a seat inside the car.
Step 2 - Set up your secondary power source
If using a booster/jump pack; Find a stable location in the engine bay in which to site the jump pack where the leads can easily reach the battery terminals. Now clamp the crocodile clips of the booster pack over the leads that connect to the battery. Do not let the two crocodile clips touch each other! Ensure that you connect black to black and red to red. Also ensure that you have secured the crocodile clips to a metallic part of the leads that will not obstruct you whilst taking the leads off of the current battery. If your booster pack has a power switch ensure that it is switched on.
If using a 12 volt battery and a set of jump leads; Place your 12 volt auxiliary battery on the floor next to the vehicle and connect the jump leads to the auxiliary battery. Connect the red lead to the positive terminal and the black lead to the negative terminal. Do not let the crocodile clips at the opposite end of the cable touch each other! Now clamp the crocodile clips at the other end of the jump leads over the leads that connect to the battery. Ensure that you connect black to black and red to red. Also ensure that you have secured the crocodile clips to a metallic part of the leads that will not obstruct you whilst taking the leads off of the current battery.
Step 3 - Remove clamp holding your battery in place
Look at your current battery to find out how it is being physically held in place. In many cases there will be a clamp at the base of the battery holding it to the floorpan. In other cases there may be a clamp across the top of the battery holding it in place. Once you have worked out how the battery is being held in place, use your socket set to loosen the bolt(s) on the clamp and remove the clamp.
Step 4 - Remove your old battery
Now that your battery is no longer physically held in place we need to remove the leads from the battery and remove the battery. Locate the bolts on the battery leads that are holding the clamps onto the battery terminals. Using your socket set, loosen the bolts but do not remove them. Now, here comes the important bit... One at a time, starting with the negative lead, remove the leads from your current battery whilst ensuring that the crocodile clips from your auxiliary power source remain connected. Once the leads are free from the battery, remove the old battery from the vehicle. Your auxiliary power source is now supplying the power to your car until we connect the new battery.
Step 5 - Connect your new battery
Without knocking the leads currently being supplied by the auxiliary power source, lower your new battery into place. Now connect the leads onto the new battery - ensuring that you first connect the red to the positive terminal and then the black to the negative terminal. Be careful that you don't knock the crocodile clips off the leads as you manoeuvre them onto the new battery. Now tighen the bolts on the clamps to hold them firmly in place. You can now safely remove your auxiliary power source by disconnecting the crocodile clips.
Step 6 - Clamp your new battery in place
Put the clamp back in place and tighten the bolt(s) that hold it in place.
Step 7 - Test
Fire up the car to ensure that the new battery has been successfully fitted. Now try the radio. If you have follwed this guide correctly, the power to your radio will not have been cut and your radio will not require programming with the radio code.
We hope that you were able to follow this tutorial without any problems. Please send us feedback whether positive or negative by contacting us.


